Camera Axe Build
- Posted in:
- Photography
- Camera Axe
As I mentioned in my blog, a little while ago I became interested in doing some high-speed photography. Now unless your freaky fast on the shutter, your just not going to be able to do it by hand. Instead you are going to need some additional hardware to achieve such a feat.
There are a number of offerings on the market and in my case, I chose to purchase a Camera Axe. Released under a Creative Commons license, the Camera Axe is an example of open source hardware (as well as software) that is also produced on a commercial basis. At its heart it is based on a Amtel ATmega328 mounted to a custom circuit board.
Part of what makes the Camera Axe appealing (at least to me), is the modular design that allows you to connect a variety of different combinations of triggers, cameras, and flashes. While the Camera Axe is not the only offering to do so, in my opinion the available hardware provides a good range that will cover just about any scenario.
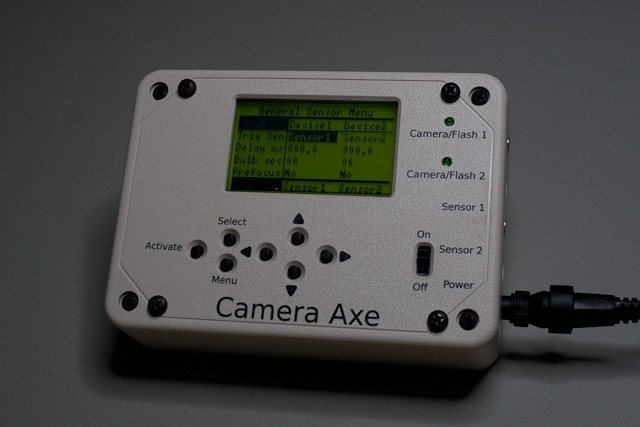
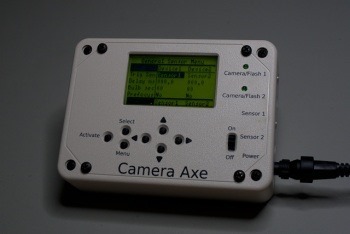
(The Camera Axe)
Now, I did purchase mine in kit form from Dreaming Robots, but they do also offer pre-assembled versions as well (but where's the fun in that).
I also purchased the following sensors with the kit:
- Projectile Sensor
- Valve Sensor
- Light Sensor
- Microphone Sensor
As well as some miscellaneous cables (flash, camera trigger etc).
The Kit
My order arrived well boxed and padded. After opening the box and laying everything out, I had the following on my desk:
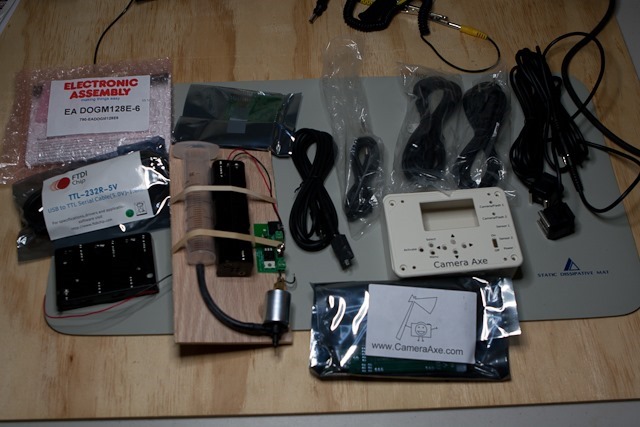
(The unboxed bundle)
As you can see, the electronic components well all neatly packaged in anti-static bags, the other cables were also neatly bundled. After unpacking the main electronic components bag you get the following:
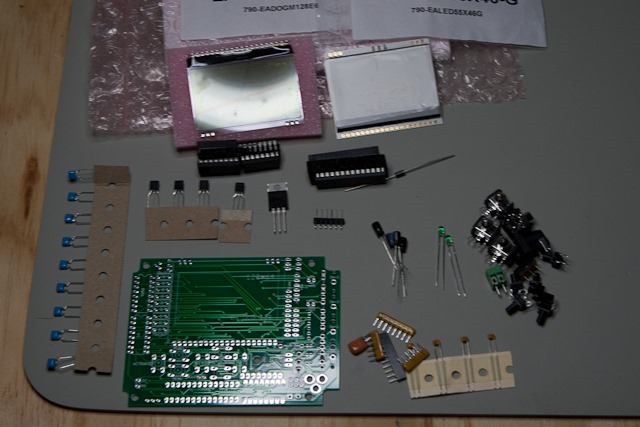
(The electronic components)
One item I did find interesting was the LCD screen included with the kit. Visible in the top half of the about photo, it actually comes in two pieces. The LCD panel itself, and the backlight.
While the kit does not come with any printed instructions, both the builder’s guide, as well as the user manual, are available on the main Camera Axe website. While some people may be annoyed by this, I suspect it is done in part to keep the costs down and it also means that the latest instructions are available. In assembling the kit, I found the online builders guide to be well laid out (including the full list of materials for those who want to source their own components) with pictures to detail each step.
You can see the completed board below.
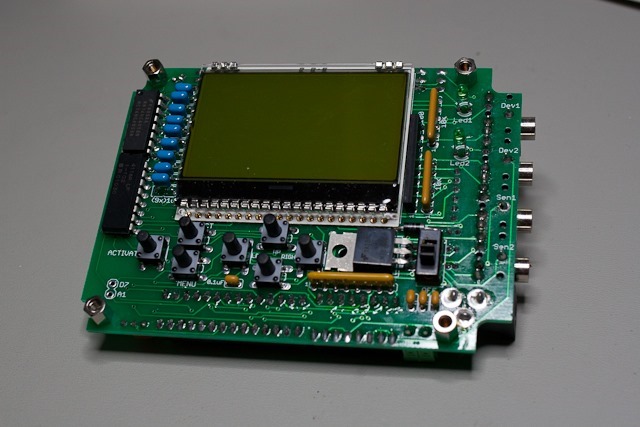
(Front of the assembled Camera Axe board)
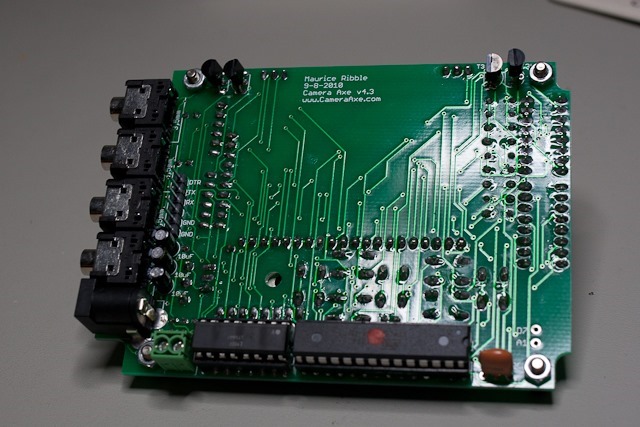
(Rear of the assembled Camera Axe board)
I will go through some of the sensors that I purchased (as well as the resulting photos) in a future post....
